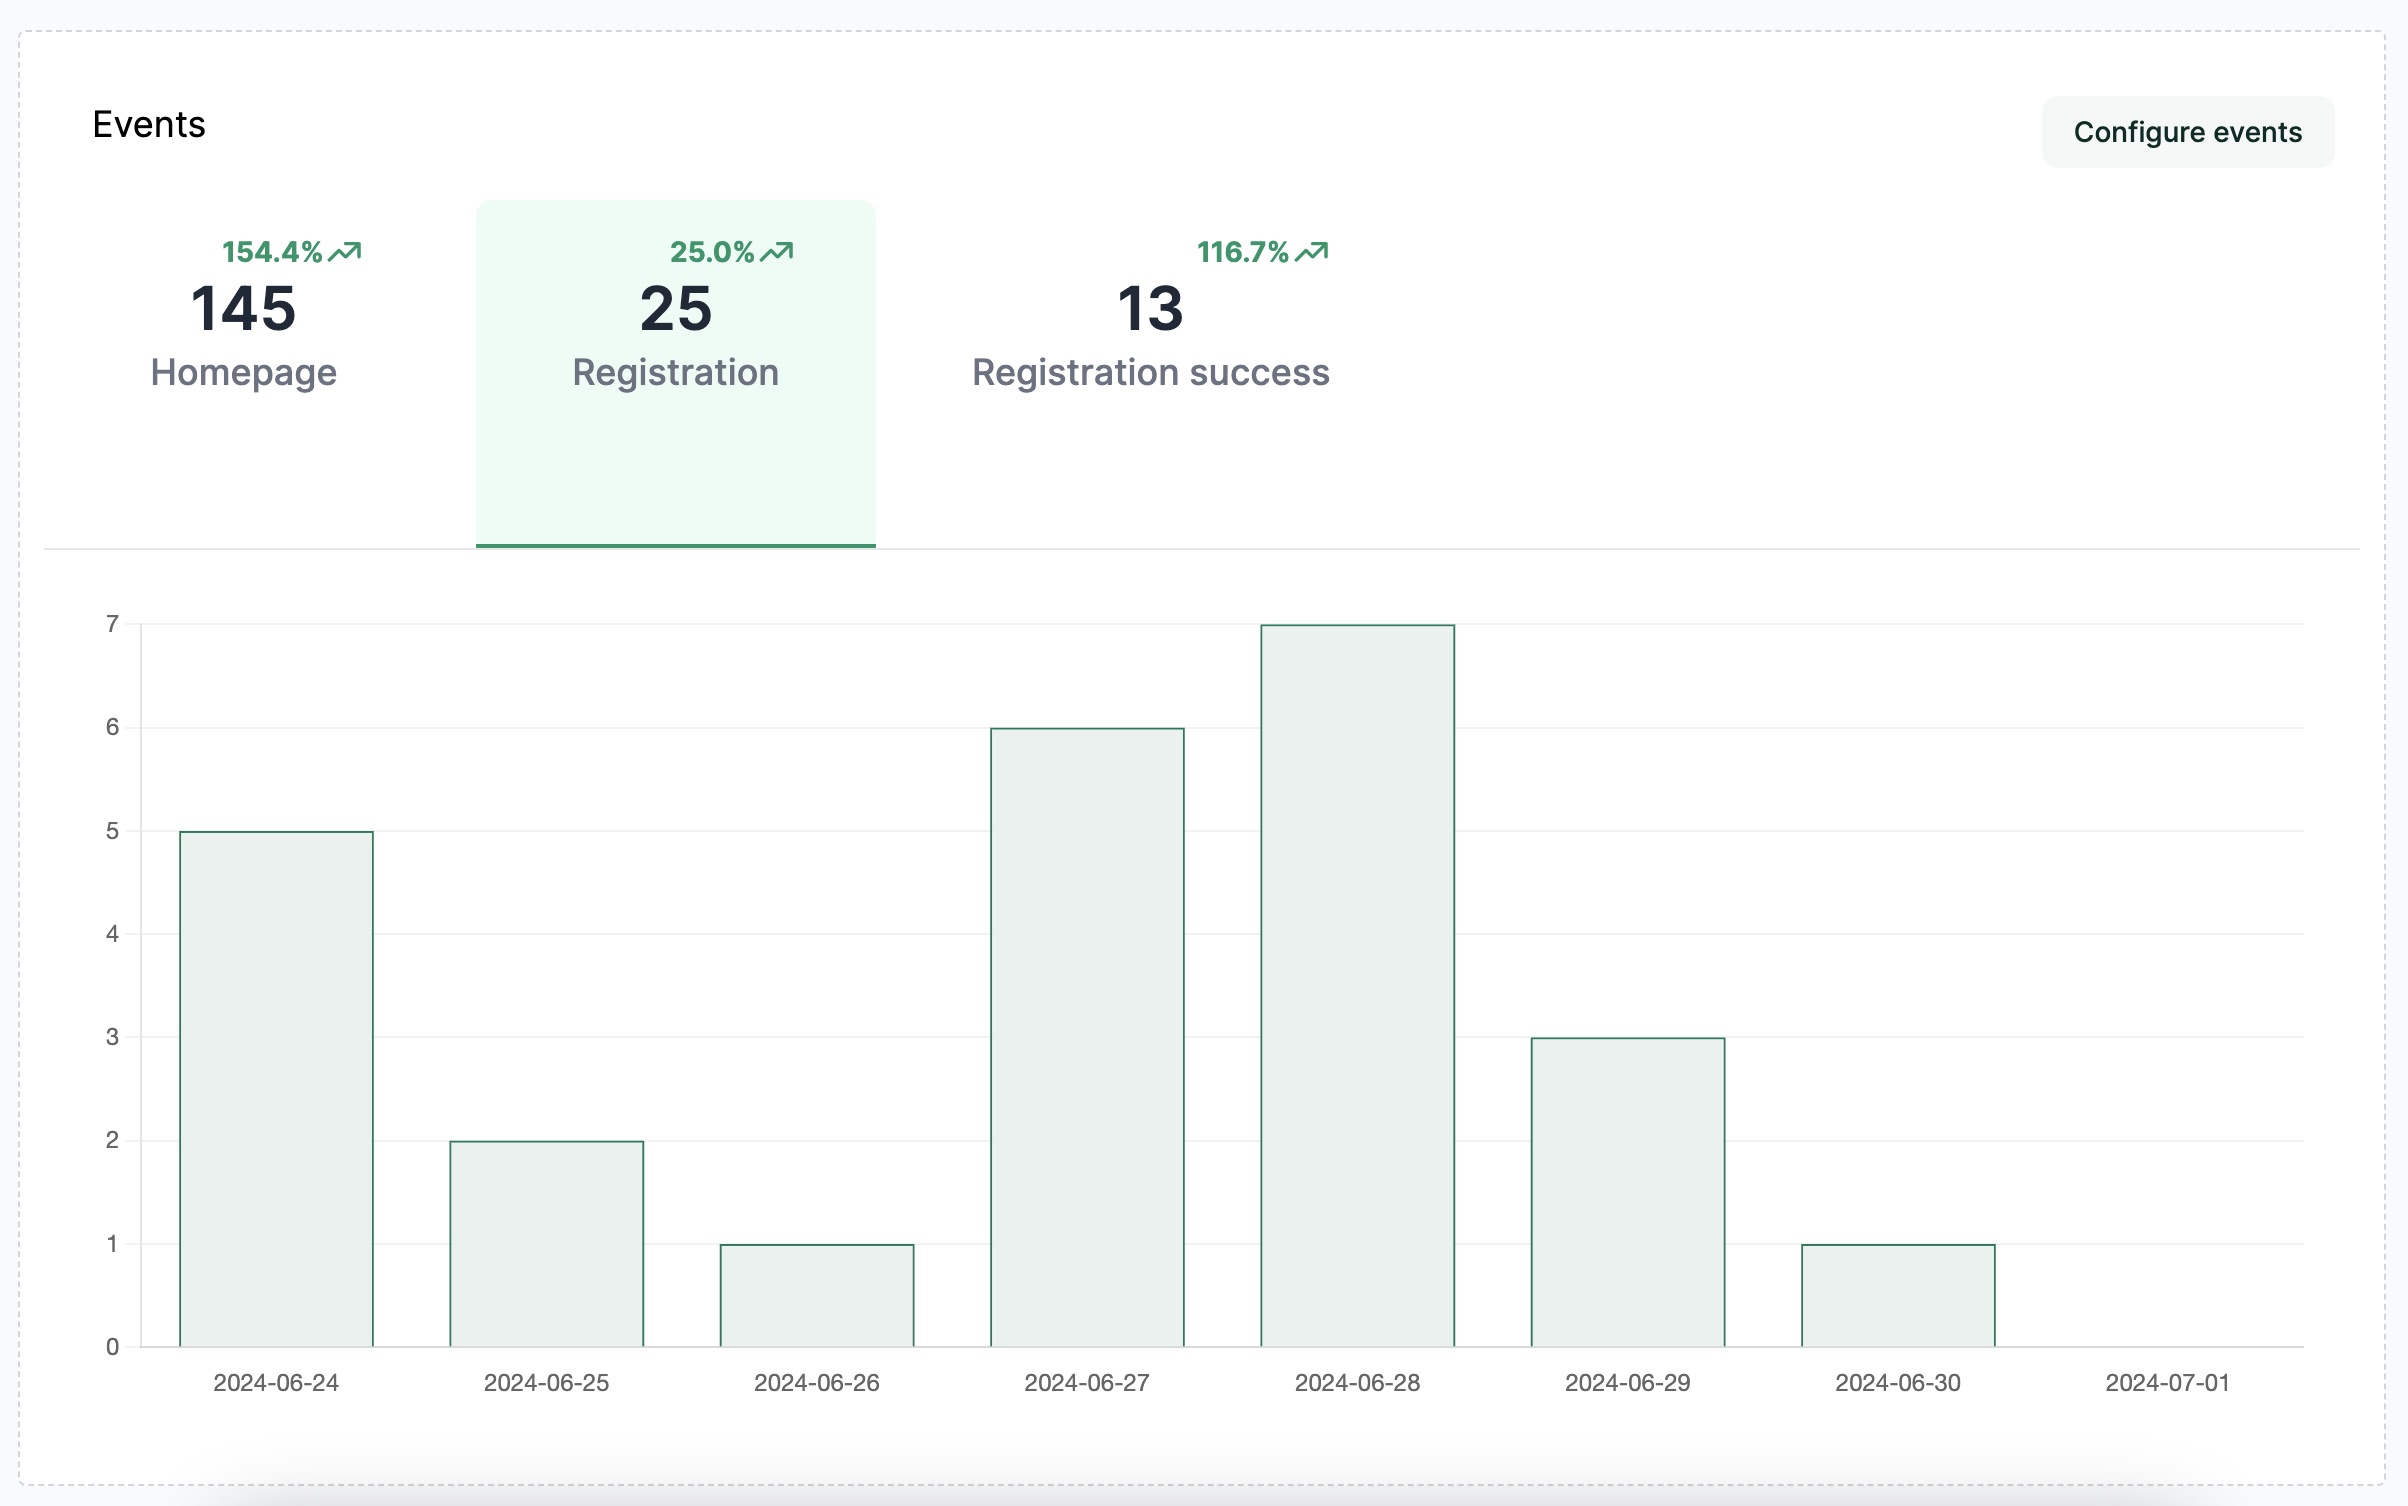
Void Analytics Events Tracking Documentation
Welcome to the Void Analytics events tracking documentation. This guide will help you understand how to implement and use Void Analytics for tracking events on your website. If you are familiar with Google Tag Manager (GTM) and the `dataLayer.push(...)` method, you will find Void Analytics very similar and easy to use.
Introduction
Void Analytics provides a simple and efficient way to track events on your website. By adding a small snippet of JavaScript to your HTML code, you can start capturing events and analyzing user interactions. The implementation is very similar to Google Tag Manager (GTM) and utilizes a window.voidLayer.push(...) method akin to dataLayer.push(...) in GTM.

Getting Started
To start tracking events with Void Analytics, you need to insert the following snippet into the HTML code of your webpage:
<script type="text/javascript" charset="utf-8">
  window.voidLayer = window.voidLayer || [];
  window.voidLayer.push({event: 'Homepage', props: {locale: 'en'}});
</script>
Implementation Guide
Step 1: Adding the Tracking Snippet
Locate the appropriate place in your HTML code:
Insert the tracking snippet in the <head> section or just before the closing </body> tag of your HTML document. This ensures that the script runs as soon as the page loads.
Customize the event and properties:
Modify the event and props properties to suit your tracking needs. The example snippet tracks an event named 'Homepage' with a property locale set to 'en'.
Example
Locate the appropriate place in your HTML code:
Insert the tracking snippet in the <head> section or just before the closing </body> tag of your HTML document. This ensures that the script runs as soon as the page loads.
Customize the event and properties:
Modify the event and props properties to suit your tracking needs. The example snippet tracks an event named 'Homepage' with a property locale set to 'en'.
Here is an example of how to add the tracking snippet to your HTML:
<!DOCTYPE html>
<html lang="en">
<head>
  <meta charset="UTF-8">
  <title>My Website</title>
  <script type="text/javascript" charset="utf-8">
    window.voidLayer = window.voidLayer || [];
    window.voidLayer.push({event: 'Homepage', props: {locale: 'en'}});
  </script>
</head>
<body>
  <h1>Welcome to My Website</h1>
  <!-- Your content here -->
</body>
</html>
Step 2: Defining Events
Event Name:
The event property defines the name of the event you want to track. It should be a string that clearly describes the event, such as 'Homepage', 'ButtonClick', or 'FormSubmission'.
Event Properties:
The props object allows you to add additional information about the event. This can include details like locale, userId, buttonId, etc. Customize these properties to capture the data relevant to your analysis.
Custom Event Example
Event Name:
The event property defines the name of the event you want to track. It should be a string that clearly describes the event, such as 'Homepage', 'ButtonClick', or 'FormSubmission'.
Event Properties:
The props object allows you to add additional information about the event. This can include details like locale, userId, buttonId, etc. Customize these properties to capture the data relevant to your analysis.
To track a custom event, modify the snippet as follows:
<script type="text/javascript" charset="utf-8">
  window.voidLayer = window.voidLayer || [];
  window.voidLayer.push({event: 'ButtonClick', props: {buttonId: 'subscribe', userId: '12345'}});
</script>
Best Practices
Consistency: Use consistent naming conventions for your events and properties to maintain clarity and organization in your data.
Granularity: Track events at a level of granularity that provides meaningful insights without overwhelming your data processing and analysis capabilities.
Privacy: Ensure that you are not capturing sensitive or personally identifiable information (PII) without proper consent and compliance with relevant data protection regulations.
Troubleshooting
Common Issues
Snippet Not Executing:
Ensure the snippet is placed in the correct location within your HTML and that there are no JavaScript errors on your page that might prevent it from running.
Event Not Captured:
Verify that the event name and properties are correctly defined and that there are no typos or syntax errors in your code.
Debugging Tips
- Use browser developer tools to check if the
window.voidLayer array is being populated with the expected events.
- Log the
voidLayer array to the console to inspect its contents:
console.log(window.voidLayer);
Conclusion
Snippet Not Executing: Ensure the snippet is placed in the correct location within your HTML and that there are no JavaScript errors on your page that might prevent it from running.
Event Not Captured: Verify that the event name and properties are correctly defined and that there are no typos or syntax errors in your code.
- Use browser developer tools to check if the
window.voidLayerarray is being populated with the expected events. - Log the
voidLayerarray to the console to inspect its contents:
console.log(window.voidLayer);
Conclusion
Implementing Void Analytics events tracking is straightforward and powerful. By following the steps outlined in this documentation, you can start capturing valuable data about user interactions on your website. Customize the events and properties to fit your specific needs and gain deeper insights into user behavior.
For further assistance, please refer to our support page or contact our support team.
Thank you for choosing Void Analytics!